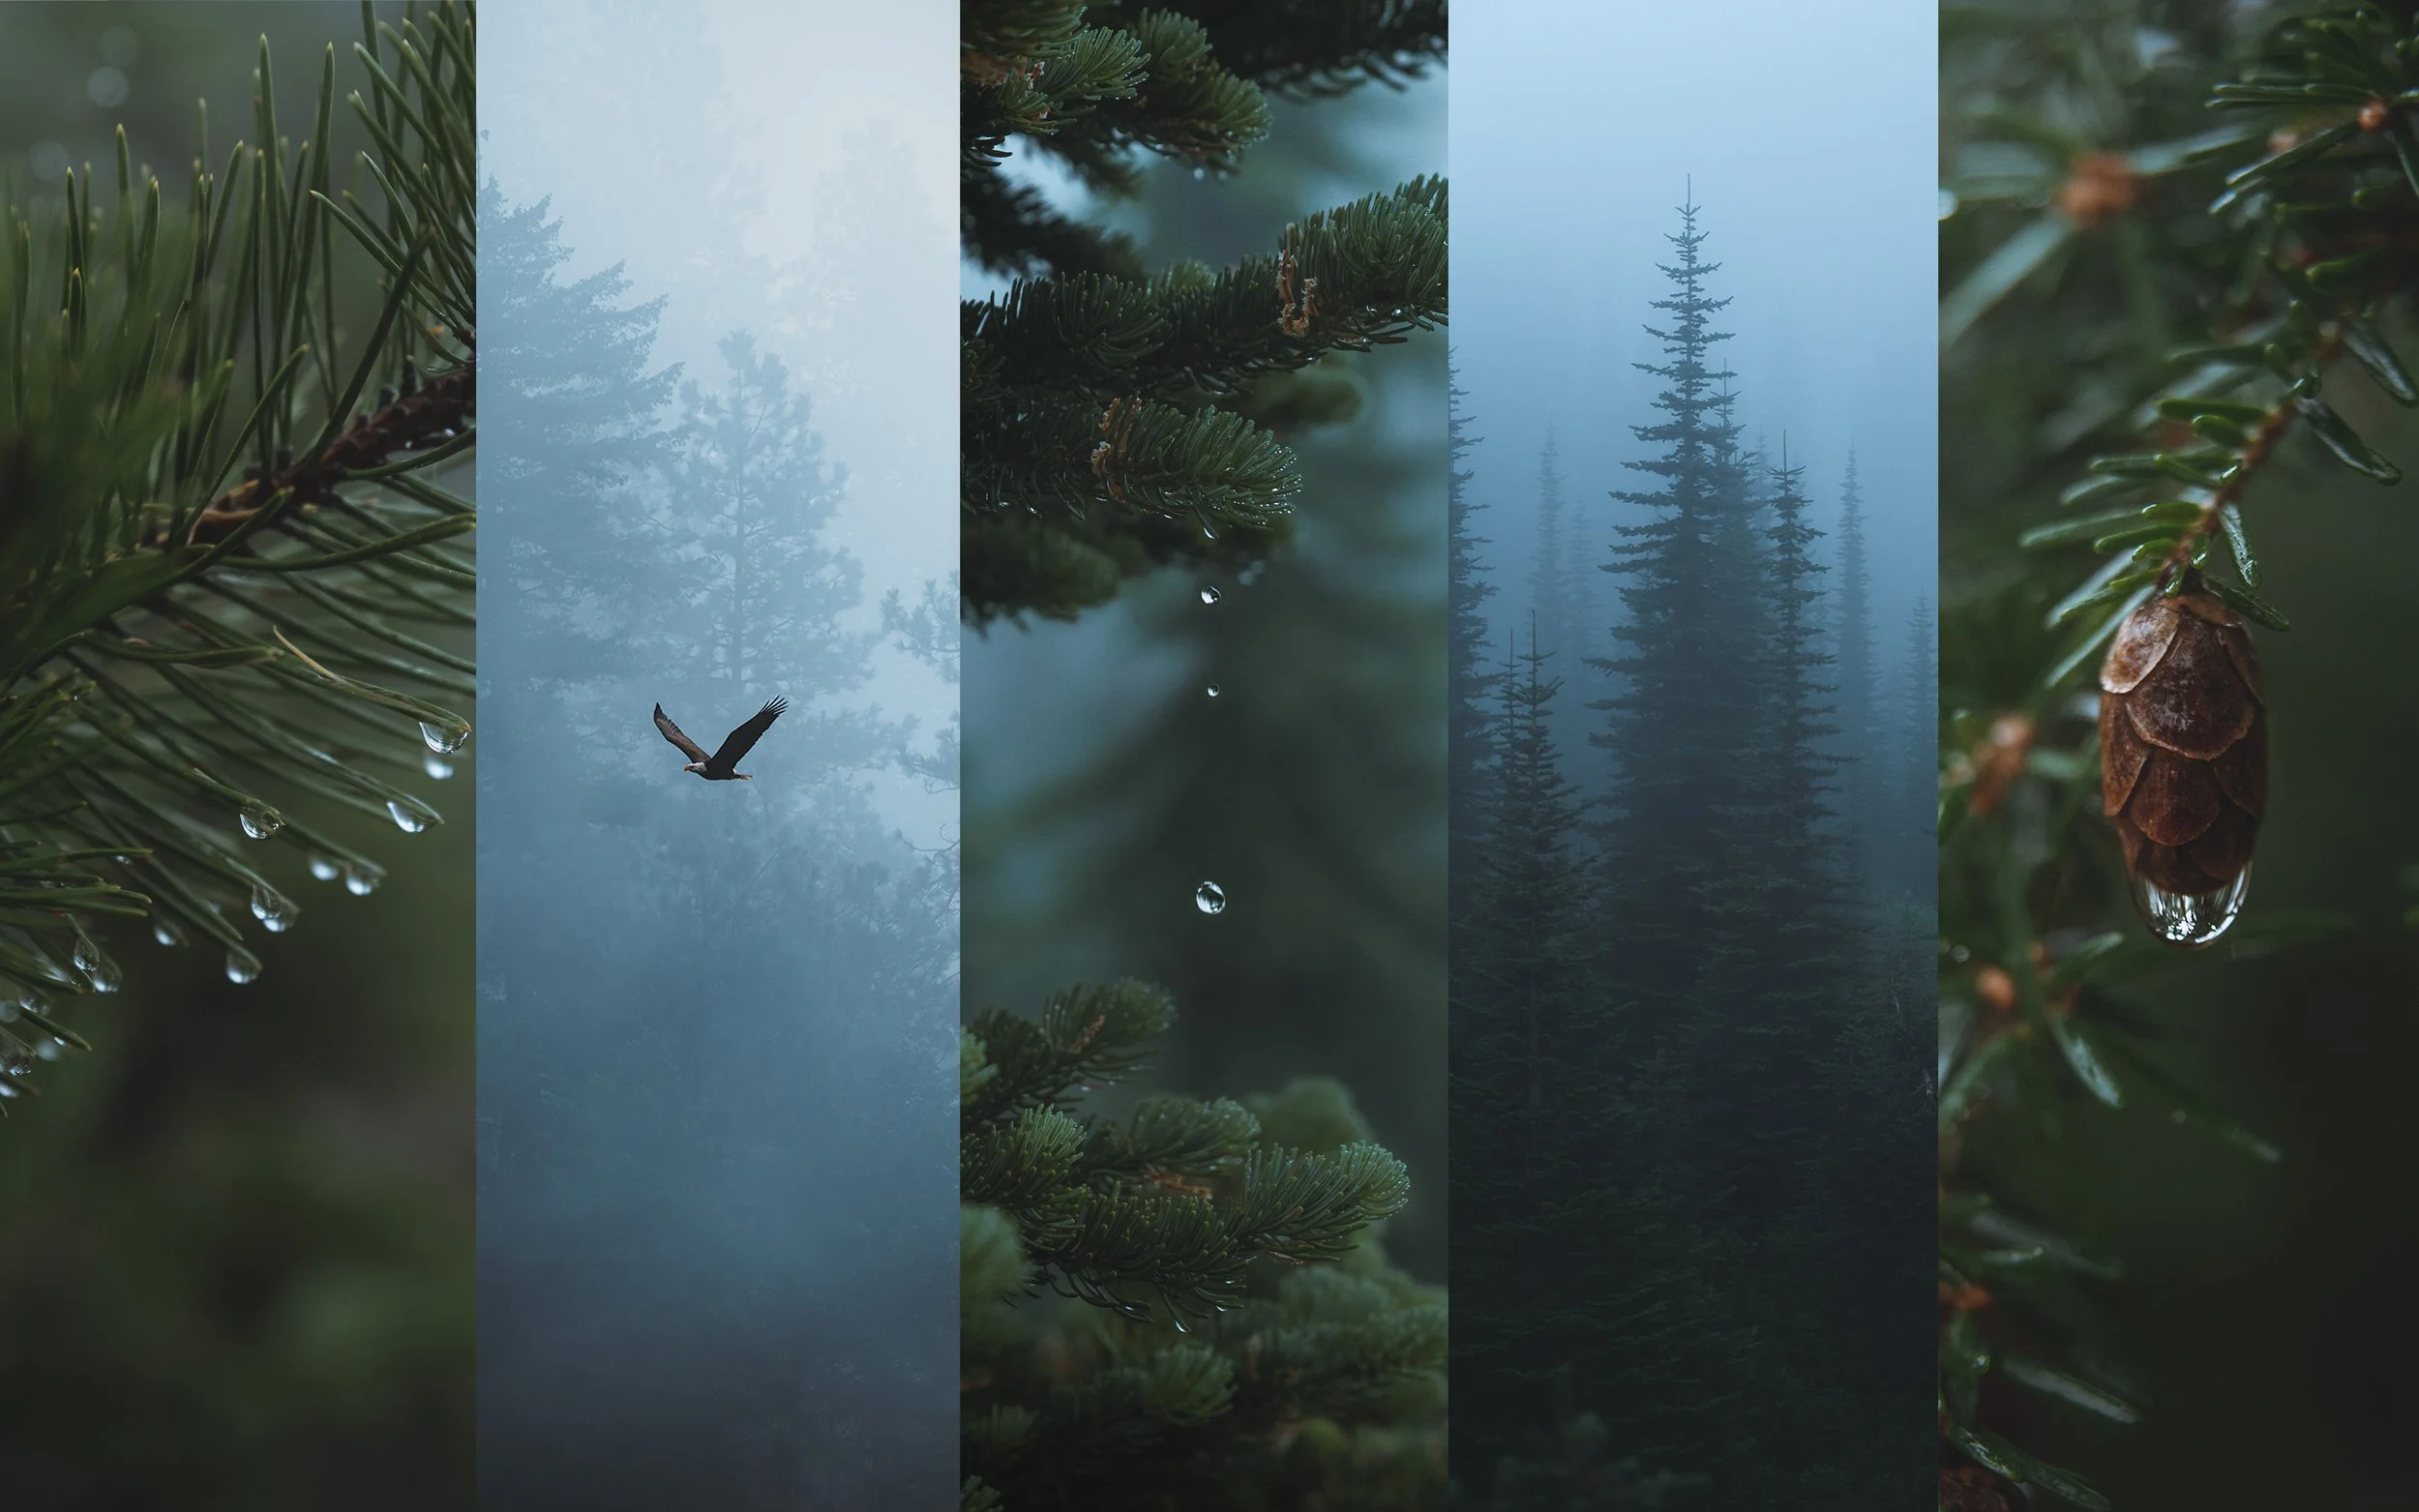
How to Calibrate Your Monitor for Photography

I remember the day I got my first camera. I was beyond excited to get out and capture beautiful landscapes and scenery. On my first trip out, I went to a place called Palouse Falls, a breathtaking location a couple hours from where I went to college. After spending the evening capturing photos I was truly stoked about, I went home and started editing. Hours went by as I poured my heart into the images. When I went to transfer them to my Nokia phone, however, my stomach dropped. The images I had taken so long to perfect looked terrible; not just a little bad, but actually terrible. The colors were completely different, the contrast was much harsher, and everything looked dark. I was confused to say the least. I began to wonder if the transfer had ruined my quality, or if my phone was broken. Being an engineering student, I looked into this further; I held two images side by side and saw how different my phone and computer screens were in color, contrast, and brightness, yet nothing seemed to be wrong with either. What could possibly cause this to happen? At the time, my solution was to edit on my computer and disregard what it looked like on my phone. I figured my computer was more expensive and thus would yield better results. So close, yet so far.
Not even a month later, I met a professional photographer and mentioned this issue to him. He asked if I had calibrated my monitor. As an engineering student, it suddenly dawned on me. Even the most advanced instruments in the lab, worth many thousands of dollars, need calibration; so why would a computer screen be any different? In fact, seeing as most screens are nowhere near as expensive or as precisely tuned from the factory as the instruments I used in the lab, it made perfect sense. I went home that evening, did my research, and bought my first calibration device. The moment it arrived, I ran my first calibration. When it finished, the software displayed a before and after comparison, and the difference was stunning. Now that my monitor was calibrated, I knew my edits were true and accurate; if a photo looked off on someone else's screen, the problem was their display, not my work.
Fast forward to today, and influencers and photographers alike have become much more aware of color calibration; yet there is a lot of misinformation online (shocker). Many people believe that calibrating a computer is as simple as changing around some settings. This could not be farther from the truth. To draw the comparison, it would be like dipping your finger in ice water, deciding it feels like zero degrees, and adjusting the thermometer to match your finger. Though it may feel right, can you prove it?
What is Color Calibration?
Simply put, color calibration is the process of measuring what your screen actually displays and correcting it until it shows colors accurately. Notice I said measuring, not eyeballing. You cannot change a setting or rely on what you see to determine what is correct.
In the photography space, many people recommend purchasing a Mac because they are known to be the best for color and editing. What most photographers don't know is that no two displays show color exactly the same way (even when the settings are identical), and none of them stay accurate forever. Now, I can already hear the MacBook owners… "My screen is already calibrated from the factory", and that's true; but factory calibration happens once, on day one, and every display drifts as it ages. The screen you've been editing on for two years is not showing the same colors as it did on day one. Most photographers already know to turn off True Tone and Night Shift while editing, since both quietly shift your screen's colors to look comfortable rather than accurate. But here's the part that gets missed: turning them off only removes an artificial shift; it does not make your display accurate. It just returns you to whatever your screen's baseline happens to be, drift and all. Disabling those settings is step one; calibration is what actually gets you to correct.
This is the same principle as calibrating instruments in a lab. You don't calibrate a thermometer by feel; you calibrate it against a known standard. Calibration gives your screen that known standard, turning your display into a reference you can trust so that every editing decision is built on accurate color instead of your screen's best guess. So how do you actually do it? That's where a colorimeter comes in.
Why Does This Actually Matter?
If you only share your work digitally, calibration means your edits are accurate, and any screen showing them differently is that screen's problem. That alone is worth it. But the moment you print your work, calibration becomes essential.
Here's why: when you send an image to a print lab, the printer doesn't care what your photo looked like on your screen. It prints the data in your JPEG file, period. If your uncalibrated display was showing you colors that were too cool, you compensated by warming up your edit. When the print comes back warmer than expected, you're left wondering what the lab did wrong or if you should switch labs. The truth? They printed exactly what you sent them. You just didn't have a true standard of color.
This is where it gets expensive. An Instagram post costs you nothing; a bad print costs you money, time, and more importantly, your reputation. I've heard countless stories of photographers going back and forth with their print lab, reprinting over and over, convinced something was wrong with the printer, when the real problem was sitting on their desk the whole time. Heaven forbid you send off prints to your clients and have them look nothing like what you took hours to edit and perfect. If any version of your image deserves to be true to what you created, it's the one hanging on someone's wall for years, maybe even their entire lifetime.
How do I Calibrate my Monitor?
This is where the colorimeter comes in. A colorimeter is a small device that sits flat against your screen and physically measures the brightness and colors coming from your screen. During calibration, the software flashes a series of known colors across your screen, and the colorimeter measures what your display actually produced. Your screen claims it showed pure red; the colorimeter measures what it actually displayed and records the difference. Once it has worked through the full set of colors, the software builds a correction profile that your computer applies automatically, fixing your screen's errors. No guessing, no eyeballing, just pure data.
I personally use the Calibrite Display Plus HL colorimeter paired with their free software, which is available for Mac and Windows and walks you through the entire process. The whole thing takes about 5 to 10 minutes, and most of that is just letting it run.
Before you start, here are a few things you should do:
Let your display warm up for at least 30 minutes. Screens shift as they warm up, and calibrating a cold screen means calibrating the wrong screen.
Turn off True Tone, Night Shift, and auto-brightness. We covered why; you want your screen at its true baseline, not mid-adjustment.
Set up your normal editing environment. Calibrate in the lighting you actually edit in, and avoid direct light hitting the screen.
Clean your screen. The colorimeter is measuring light through whatever is on your display, fingerprints included.
From there, plug in the colorimeter, being sure to lay it flat on your screen, and let the software do the rest. The screen will cycle through its colors, and when it finishes, the software will save your new profile and show you a before and after comparison. Just like my first time, the difference will probably surprise you.
As mentioned before, calibration is not a one-time event. Displays drift. I personally recalibrate every month or two to be sure I am editing my images correctly. The software even has a quick check that tells you whether your monitor is still accurate, so you're not guessing about when it's time. A few minutes every so often is a small price for knowing your screen is telling you the truth.
What is the Best Monitor Calibrator?
The best calibrator is the one that matches your display, because a sensor that cannot measure your screen's brightness range cannot calibrate it properly. This is why Calibrite makes their Display series in a few tiers rather than one device for everyone. If you had to pick one and only one, I would personally recommend the Display Pro HL; at around $200, it works for anything you're likely to be editing on, including every modern Mac. But you can decide for yourself. Here are Calibrite’s options and a little explanation for each.
The Display 123 is the entry point. It runs a simplified one-two-three workflow with the essentials locked to sensible defaults, and it's a solid choice if you have a standard monitor and just want accurate color without touching a single setting.
The Display SL is the next step up, built for standard displays. You get a photography preset with selectable white points and luminance values, which is everything a photographer on a typical monitor needs.
The Display Pro HL is where the HL, or “high luminance”, sensor comes in. It measures displays up to 3,000 nits, which brings modern mini-LED, OLED, and Apple's XDR screens into play, and it unlocks the more advanced side of their software. If you're editing on a recent MacBook Pro, this is the tier where your screen is fully covered.
The Display Plus HL sits at the top and is the one I personally use. It has everything the Pro HL offers, but its sensor measures up to 10,000 nits, which covers HDR and super-bright displays with room to spare. Truthfully, that headroom is more than most photographers need today, but it does give room to grow into the future.
Conclusion
Looking back, the version of me holding a phone next to a laptop, wondering which screen was lying, feels like a lifetime ago. The most confusing part was that nothing was broken; both screens were doing exactly what they were built to do. I just had no way of knowing which one to trust. Editing on an uncalibrated screen is no different than using a thermometer that doesn't read the true temperature. You can edit for hours, making sure everything is pixel perfect, only to get a print back that looks nothing like what you spent all that time perfecting. That is why calibration is so important. Whether you grab the Display Pro HL or another tier that fits your setup, do it before your next editing session; your future self, and every image you post from here on out, will thank you.
How to Calibrate Your Monitor for Photography
Written by: Zach Nichols
June 16, 2026
© Zach Nichols Photography